5 key Knife Skills Every Home Cook Should Master

The Claw Grip: Protecting Your Fingers While Chopping
The Rocking Motion: Efficient Slicing and Mincing
Julienne Cut: Creating Perfect Matchstick Vegetables
The Bridge Hold: Stable Cutting for Round Foods
Chiffonade: Elegant Herb and Leafy Green Slicing
Proper knife technique transforms cooking from a chore into a craft. This post covers five foundational cutting skills that every home cook needs—the claw grip for safety, the rock chop for efficiency, julienne for presentation, brunoise for precision, and chiffonade for herbs. Master these, and you'll prep faster, cook more evenly, and keep those fingertips intact.
What's the Safest Way to Hold a Knife?
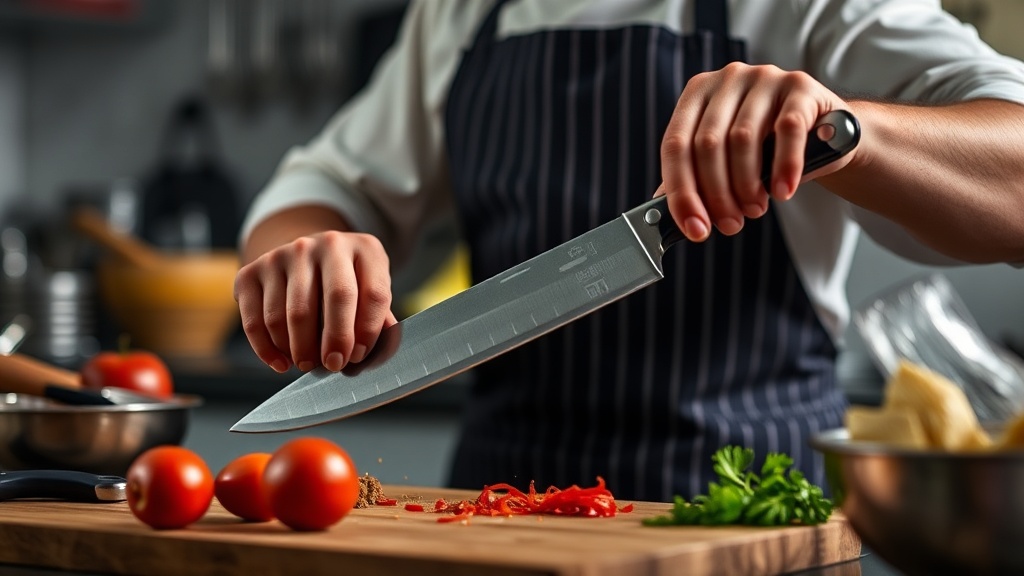
The pinch grip is the safest and most controlled way to hold a chef's knife. Pinch the blade between your thumb and forefinger where it meets the handle, then wrap the remaining three fingers around the handle itself. This gives you balance, control, and power—three things you'll need for everything from mincing garlic to breaking down a chicken.
Your other hand matters just as much. The claw grip (tucking fingertips inward, using the knuckles as a guide) keeps those digits away from the blade's path. It's not intuitive at first—you'll want to reach out and stabilize with flat fingertips. Don't. A dull knife sliding off an onion and into a fingertip ruins dinner fast.
The history here is worth appreciating. Professional kitchens standardized the pinch grip in French brigade systems during the 19th century—before that, home cooks used whatever felt natural, which often meant less control and more bandages. The technique spread globally through culinary schools like Le Cordon Bleu, which opened in Paris in 1895.
For beginners, the Wüsthof Classic 8-Inch Chef's Knife offers a forgiving bolster that guides your fingers into proper position. If you're left-handed, consider the Shun Classic Left-Handed Chef's Knife—the D-shaped handle actually fits southpaw grips instead of forcing adaptation to right-handed designs.
How Do You Chop Vegetables Faster Without Cutting Yourself?
The rock chop—keeping the knife tip anchored on the board while the heel moves up and down—lets you process vegetables quickly without lifting the blade completely. Think of it as a lever motion: tip stays planted, handle moves in an arc. Your non-knife hand feeds ingredients under the blade while the knife does the work.
Here's the thing: speed comes from efficiency, not force. Beginners often press down hard, thinking power equals speed. It doesn't. A sharp knife and proper technique outperform muscle every time. The rock chop lets the blade's edge do the work while your hand guides rhythm and spacing.
Practice on onions first—they're cheap, uniform, and teach you spacing control. Slice off the root and stem ends, halve the onion pole-to-pole, peel, then position the flat side down. Anchor your knife tip near the heel of the onion, lift the handle, and bring it down while pushing forward slightly. Repeat. The motion should feel almost pendulum-like.
Different cuisines favor different chopping styles. Chinese cooks often use a cleaver with a straight up-and-down motion—the Dexter-Russell Chinese Chef's Knife (often called a vegetable cleaver) excels here. Japanese nakiri knives, like the Shun Classic Nakiri, have flat profiles designed for push cuts rather than rocking. The catch? These require different techniques entirely—don't rock a nakiri, and don't push-cut with a curved Western chef's knife.
| Knife Style | Best Motion | Ideal For |
|---|---|---|
| German (Wüsthof, Zwilling) | Rock chop | All-purpose, curved edge supports rocking |
| French (Sabatier) | Rock chop or slice | Precision work, moderate curve |
| Japanese Nakiri | Push cut | Vegetables, flat edge contacts board fully |
| Chinese Cleaver | Vertical chop | High-volume prep, transfer to wok |
Worth noting: board selection affects your chopping. End-grain wood boards (like those from Boos Block) are kindest to edges and joints—they're self-healing and slightly forgiving. Plastic boards from OXO or Epicurean are dishwasher-safe but harder on blades over time. Glass and stone boards? Never. They'll destroy your edge in weeks.
What's the Difference Between Julienne and Brunoise?
Julienne produces matchstick-shaped pieces approximately ⅛ inch by ⅛ inch by 2 inches; brunoise is simply julienne cut crosswise into ⅛-inch cubes. The julienne comes first—always. You can't cube what you haven't sticked.
The julienne has French origins (unsurprisingly), standardized in classical cuisine for garnishes and even cooking. Think of a stir-fry: vegetables cut to uniform dimensions cook at identical rates. Julienne carrots, bell peppers, and celery in a wok—each piece hits the hot surface simultaneously, develops similar char, and finishes together.
The technique: square off your vegetable by trimming rounded sides to create flat surfaces. Cut planks ⅛ inch thick, stack two or three planks, then slice into ⅛-inch strips. Keep the knife perpendicular—angled cuts produce parallelograms, not matchsticks. Your guide hand stays in the claw position, feeding the vegetable forward in measured increments.
Turn those julienne strips 90 degrees, gather them into a bundle, and cut crosswise. That's brunoise—tiny, precise cubes used for sauces, stuffings, and fine garnishes. A proper brunoise takes practice. The pieces should be uniform enough that you can't distinguish individual shapes when scattered on a board; they should read as texture rather than distinct bits.
Professional kitchens test knife skills with brunoise. The standard? Two pounds of carrots turned into perfect ⅛-inch cubes in under an hour. Home cooks needn't meet that pace—but the precision matters. Uneven pieces in a mirepoix (the French aromatic base of onion, carrot, and celery) mean some bits caramelize while others steam. Consistency equals control.
How Do You Cut Herbs Without Bruising Them?
Chiffonade—cutting herbs and leafy greens into thin ribbons—preserves flavor and appearance by slicing rather than crushing cell walls. Basil, mint, sage, and spinach all benefit. The technique works because you're cutting across the leaf's width rather than tearing through its length.
Stack leaves of similar size, roll them tightly into a cigar shape (tighter than you think—you want compression), then slice perpendicular to the roll. The result: delicate ribbons that unfurl when tossed into hot pasta or scattered over soup. No brown edges. No bruised aroma.
Here's where technique meets biology. Herbs release volatile oils when cell walls break—that's the fragrance you smell when chopping basil. But blunt trauma (dull knives, rough handling) ruptures cells unevenly, releasing enzymes that start oxidation and browning within minutes. Sharp slicing cuts cleanly, delaying that degradation.
That said, some herbs resist chiffonade. Woody herbs like rosemary and thyme need different treatment—strip the leaves from stems by pinching and pulling against the grain, then chop coarsely or leave whole. Cilantro and parsley work better with a rough chop than rolling—their tender stems often get included, and the irregular shapes suit rustic presentations.
The MAC Knife Professional Hollow Edge Chef's Knife excels at chiffonade. The hollow-edge design (those dimples along the blade) creates air pockets that prevent thin herb slices from sticking to the metal. At around $145, it sits in the sweet spot between entry-level and investment pieces—Japanese steel with Western handle familiarity.
How Do You Maintain a Sharp Knife Edge?
A sharp knife is safer than a dull one—period. Sharp blades bite predictably; dull blades skate, slip, and find fingers. Maintenance means regular honing (realigning the edge) and periodic sharpening (removing metal to create a new edge). These are different processes, and confusing them ruins knives.
Honing happens on a steel—those rod-shaped tools that come in knife blocks. Run the blade at a 15-20 degree angle along the steel, alternating sides, about five strokes each. Do this before every significant cooking session. The Wüsthof 10-Inch Sharpening Steel has a magnetized surface that helps beginners feel the proper angle.
Sharpening removes metal. Use whetstones for best results—soak the stone, maintain consistent angle, work through grits from coarse (1000) to fine (6000+). The King KDS 1000/6000 Combination Whetstone costs roughly $35 and handles most home needs. Electric sharpeners like the Work Sharp Culinary E5 work faster but remove more metal and create less refined edges—fine for German knives, risky for thin Japanese blades.
Storage matters too. Drawer jumbles destroy edges. Magnetic wall strips (the Ouddy Magnetic Knife Holder is inexpensive and effective), knife blocks, or blade guards protect your investment. Never put good knives in the dishwasher—the heat, detergents, and knocking around pit blades and melt handles.
"Give a man a dull knife and a sharp knife, and he'll finish faster with the sharp one—and keep more fingers." — Old kitchen proverb
The cultural thread here runs deep. Japanese blacksmiths in Sakai (south of Osaka) have forged blades for 600 years, originally for firearms, then for tobacco cutters, now for kitchen knives. The layered steel techniques—hagane (hard cutting edge) wrapped in jigane (softer supportive steel)—spread from swordsmithing traditions. A Shun or Miyabi knife carries that lineage into modern kitchens.
Master these five skills, and the kitchen changes. Prep becomes meditative rather than stressful. Ingredients behave predictably. Recipes that once seemed complex—French mirepoix, Chinese stir-fries, Italian soffritto—become accessible because the foundation is solid. The knife is the cook's oldest tool; respect it, maintain it, and it returns that investment with every meal.