Building a Sourdough Starter from Scratch

Why the Store-Bought Yeast Myth Doesn't Apply
Many people assume that baking bread requires a packet of commercial yeast from the grocery aisle. While that's a valid shortcut, it bypasses the most interesting part of the process: the cultivation of wild yeast. A sourdough starter isn't just a way to make bread rise; it is a living, breathing culture of bacteria and yeast that captures the unique microbial environment of your kitchen. When you rely on store-bought yeast, you get a predictable rise, but you lose the depth of flavor and the complex acidity that defines true artisanal baking. You aren't just making a leavening agent—you're building a micro-ecosystem.
The process of creating a starter is essentially an exercise in controlled decay and rebirth. You are inviting wild yeasts and lactic acid bacteria (LAB) from your flour and your air to settle into a sugary, starchy environment. This isn't something you can rush. If you try to force the timeline, you often end up with a jar of smelling-like-feet liquid rather than a functional baking tool. Patience is the primary ingredient here.
What Supplies Do I Need to Start?
Before you begin, don't overcomplicate your toolkit. You don't need laboratory-grade equipment. You need a few basic items that most people already have in their pantry. The goal is to provide a consistent environment for the microbes to thrive.
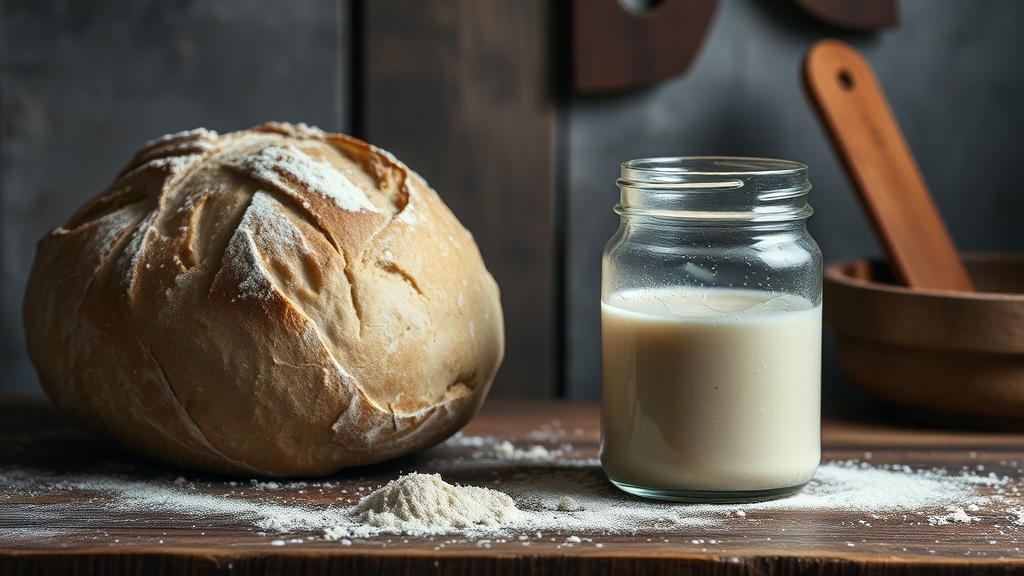
- A Glass Jar: A wide-mouthed mason jar or a glass beaker is ideal. Avoid metal containers for long-term storage as the acidity of the starter can sometimes react with certain metals.
- Flour: You can use unbleached all-purpose flour, but I recommend starting with a whole grain flour like rye or whole wheat. These grains are much more nutrient-dense and provide more "food" for the wild yeast to get started.
- Water: Use filtered water if your tap water is heavily treated with chlorine. Chlorine is meant to kill bacteria, and since your starter is a colony of bacteria, you don't want to fight against it.
- A Digital Scale: While volume measurements (cups/spoons) work, weight is much more accurate. Fermentation is a game of ratios, and a few grams can change the consistency entirely.
For more detailed technical breakdowns on how fermentation affects grain, you can check out the documentation at the King Arthur Baking website, which offers extensive research on flour types and their microbial profiles.
The Daily Routine: Step-by-Step Instructions
The following schedule assumes a 7-day window, but remember that your environment—the temperature and humidity of your kitchen—will dictate the speed. If your house is cold, it might take ten days. If it's warm, it might take five.
Day 1: The Beginning
In your clean glass jar, mix 50 grams of flour and 50 grams of lukewarm water. Stir until no dry clumps remain. The texture should look like a thick paste. Cover the jar loosely—a cloth with a rubber band or a lid that isn't screwed on tight—and leave it in a warm spot. You're looking for a temperature between 70°F and 75°F.
Day 2: The First Check-In
You might see nothing at all. That's fine. Even if there are no bubbles, you must perform your first feeding. Discard half of the mixture (roughly 50g) and add 50g of flour and 50g of water. This "discarding" part is vital because it keeps the acidity from building up too quickly and ensures the microbes have fresh food. It feels wasteful, but without it, the culture won't thrive.
Days 3 through 5: Building Strength
Continue the 1:1:1 ratio: discard half of your starter, then add 50g flour and 50g water. By day three or four, you should see small bubbles and perhaps a slightly fruity or sour aroma. If it smells like gym socks, don't panic. That's a natural part of the early-stage fermentation. It means the bacteria are fighting for dominance. Keep feeding it.
Day 6 and 7: The Final Stretch
By now, the starter should be visibly active. It should rise in the jar after a feeding and then fall back down. If it's doubling in size within 4 to 6 hours, you're in the home stretch. If it isn't rising much, add a little more whole grain flour to give it a boost of nutrients.
How Do I Know if My Starter is Ready?
The most reliable test is the float test. Drop a small teaspoon of your starter into a glass of water. If it floats, the gas production is high enough to provide lift to a loaf of bread. If it sinks, it needs more time or more frequent feedings. Another sign is the smell; you want a bright, tangy scent, not a putrid or rotten one.
If you encounter a layer of dark liquid on top, this is called "hooch." It's a sign that your starter is hungry. It's essentially alcohol produced by the yeast when it has run out of food. Simply pour it off, discard the liquid, and resume your feeding schedule. It's not a sign of death, just a sign of hunger.
| Stage | Visual Sign | Typical Smell |
|---|---|---|
| Early (Days 1-3) | Still or very few bubbles | Mildly floury or slightly sour |
| Middle (Days 4-6) | Active bubbles, increasing volume | Cheesy or slightly pungent |
| Mature (Day 7+) | Doubles in size, lots of bubbles | Tangy, fruity, or vinegary |
If you're interested in the chemical breakdown of these processes, the Science of Food archives often discuss the enzymatic reactions occurring during starch breakdown. Understanding the biology helps you troubleshoot when things go wrong.
Maintaining Your Culture Long-Term
Once your starter is active, you don't have to feed it every day unless you're baking. If you aren't baking daily, keep your starter in the refrigerator. This slows down the metabolic rate of the yeast, allowing you to feed it just once a week. When you're ready to bake again, take it out, feed it once or twice at room temperature to wake it up, and then proceed with your recipe.
The beauty of this process is that it is infinitely repeatable. You've created a living legacy that can live for decades if treated with care. A well-maintained starter is more than just an ingredient; it's a constant companion in the kitchen, a small piece of biological history that grows alongside your skills.